

Part One - Create Your Own Font with Unlimited Variation

Click Font Creator to register a font account:


(Note: This is an account for font creation, which is different from the account for the machine software and cannot be used interchangeably. For the registration and connection of the machine software account, please click Register, and refer to this article: https://uunatek.com/blogs/tips-and-tricks/tutorial-how-to-register-and-connect-to-uuna-tek-iauto-pen-plotter)

Now back to our topic, after registering the font account, you can refer to Part 1 of this tutorial learn basic functions and usage: https://idrawpenplotter.com/f/tutorial-how-to-make-bulk-greeting-cards-with-iauto-auto-feeding

Second, Enable Width Function
Today we need to use a more advanced function, namely the four-line, three-space English handwriting function (Enable Width) .
We log in to our account and click Create to create the font. Enter the font name, select English as the font, and remember to check the Enable Width function:

After creating it, you can find the font here:

Third, Create and Edit Fonts
Click the created font and click Edit to enter the font:

After entering the page, click the Add button to enter the custom window:

Because I want to make a dedicated font for Thanksgiving, I enter all the relevant content and separate each word with a space, so that it can be recognized as an independent word:

For example, punctuation marks and words can be separated here:

Then click OK to add all the text:

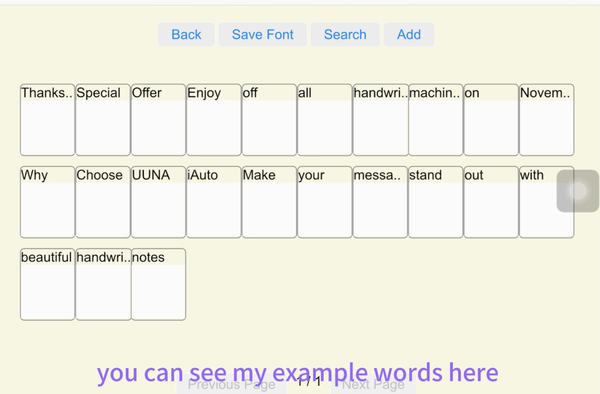
You can quickly find all the words in the Search function:


You can also directly click the Next Page to find the newly added words:

My example is as follows:
Fourth, Set Up Proper Writing Area
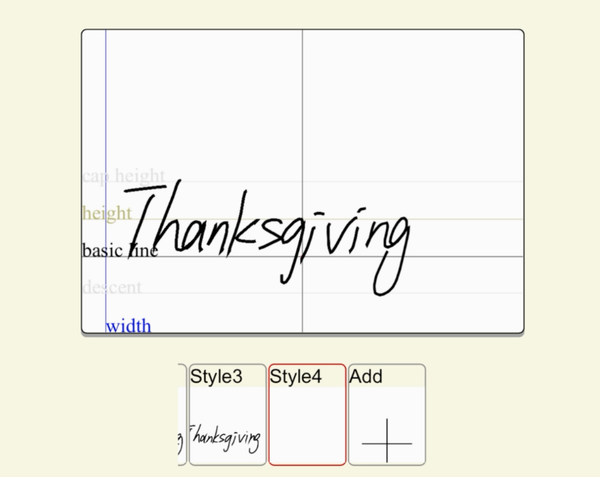
Click any word and enter the font create interface. Set the appropriate writing area in Settings:

It is recommended to select the Large area and check the Edit line option:

After entering the edit line mode, the areas represented by these lines can be edited freely:

We can drag and move the width line as far as possible to the left side of the canvas, so that the starting point of the word is on the left, which is more suitable for writing long words:

Then adjust the cap height, height and descent lines to the appropriate height according to your writing habits:

Then switch back to Record path mode in settings, you can start handwriting words:

Fifth, Start to Input Your Handwriting Fonts
After writing each word, remember to click the Done button to save the current handwriting (you can save 3 styles by default):

If you want more variations to make the writing effect more random and diverse, you can click the Add button (There is no limitation to the variation amount):


It is best to remember to click Save Font frequently to avoid network abnormalities or failure:
After writing the current word, click Next to start the next word:

When all are written, you can check all the words (remember that some corresponding punctuation marks should also be entered separately):


Sixth, Sync Your Fonts to iAuto Software
Next, you can import the font into the software. Click Font Management>>>Cloud to synchronize fonts:


Then you can find your custom font here:

Part Two - Edit Thanksgiving Cards Content Text
Let's enter the text content of thanksgiving. Click the Characters function in the lower left corner:


Select the text you entered and choose your font, and you can see the effect:

Continue to enter all the content, and you can adjust the format here:

The final effect is as follows:

And remember to Save:

Part Three - Write Thanksgiving Cards with iAuto
Finally, you can connect the machine and write it out:

The effect is as follows:
